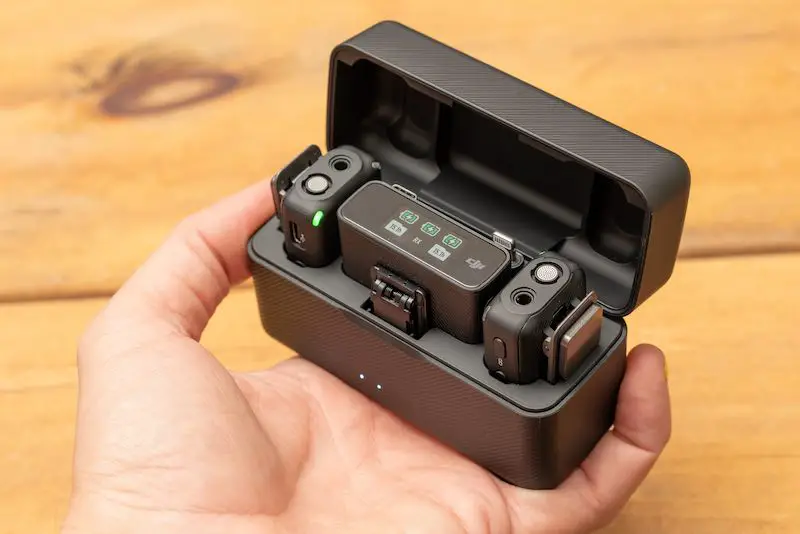
When it comes to compact wireless microphones, very few brands match up to the DJI Mic. This wireless Lavalier microphone system is designed to deliver exceptional sound quality and dual-channel recording at long distances of up to 250m. Even better, the DJI Mic comes with lots of customizable audio settings that allow you to optimize the microphone to your preferred audio settings.
In this article, we are going to explore how to tweak these settings, plus reveal the best settings for DJI Mic.
Best Settings for DJI Mic

1. Selecting the Ideal Mode
On the DJI Mic, there are various modes tailored to different recording situations. To optimize your settings, you need to choose the appropriate mode. The three primary modes include:
- Standard Mode: This mode is best for capturing audio in everyday situations. It provides balanced sound reproduction, ensuring clarity in most environments. You can activate this mode to improve sound reproduction.
- Interview Mode: When conducting interviews or capturing scenes with much dialogue, Interview Mode comes in handy. This mode enhances the sound of the speaker, suppressing ambient noise and amplifying human voice frequencies.
- Stereo Mode: With Stereo mode, you will find a wider soundstage, creating a three-dimensional audio experience. This mode is perfect for recording ambient soundscapes or concerts.
2. Adjusting Sensitivity Settings
The sensitivity setting determines how DJI Mic responds to sound levels. You should ensure to correctly configure this setting for optimal audio quality. You can follow these guidelines:
- Low Sensitivity: Choose this setting when the recording environment is loud or there are close sources of sound. This option will prevent distortion caused by excessive volume levels and maintain clarity in scenarios like concerts or sporting events.
- Medium Sensitivity: With this setting, you can create a balance between capturing ambient sound and maintaining focus on the primary audio source. This setting is best for general-purpose recording situations.
- High Sensitivity: This setting is the best pick when you need to capture subtle nuances or soft sounds. It boosts the microphone’s sensitivity, so you can pick up low-volume audio with precision. If you’re recording nature sounds, delicate musical performances, or whispered dialogue, you might want to go for this setting.
3. Using Filters for Enhanced Audio
On the DJI Mic, you will find a range of filters to help get rid of unwanted noise and optimize audio quality. You can tweak these features to boost the quality of your recordings:
- Low-Cut Filter: Also known as a high-pass filter, this feature removes low-frequency rumble or vibrations caused by handling the microphone or wind. You will have to enable the low-cut filter when recording outdoors, in the wind, or in situations where microphone handling noise might be present.
- Gain Control: The gain control features allows you to fine-tune the volume of the recorded audio. You can increase the gain if the audio seems too quiet, or decrease it if you notice distortion due to excessive volume levels.
4. Monitoring and Adjusting Levels
For precise control over your recordings, you should monitor the audio levels in real-time. On your DJI Mic, you will find an audio level meter that displays the input volume. When adjusting the level, keep them within the optimal range to avoid issues like under- and over-modulation.
- Under-Modulation: This occurs when the audio levels are too low. When this happens, the recordings may introduce noise when amplified during post-processing. To fix this, you need adjust the gain control or microphone sensitivity settings appropriately.
- Over-Modulation: Over-modulation occurs when the audio levels are too high. This leads to distortion and clipping. To rectify this issue, you reduce the gain or adjust the microphone sensitivity.
5. Fine-tuning in Post-Processing
Even with the best settings during recording, post-processing can further enhance your DJI Mic audio. To achieve better audio quality in your recordings, you need to do the following:
- Equalization (EQ): You can use the EQ settings to boost or cut specific frequency ranges to enhance clarity and remove background noise. You need to try out different EQ settings to get the best.
- Noise Reduction: If you notice any background noise in your recordings, you can apply noise reduction techniques. You might want to use dedicated noise reduction plugins or software to get rid of environmental noise.
- Compression: You can also apply compression to help reduce the difference between the softest and loudest parts of the audio. This could add some consistency to your recordings.
- Spatial Effects: You can apply spatial effects such as reverb or stereo widening to add ambiance to your audio.


