One of the many features that make Tesla vehicles stand out is their advanced audio systems. Whether you’re driving a Model 3, Model S, Model X, or Model Y, you can customize your audio settings to get the best possible sound quality and experience.
In this guide, we’ll explain how to set your Tesla audio settings on every model, what each setting means, and how to get the most out of your Tesla audio.
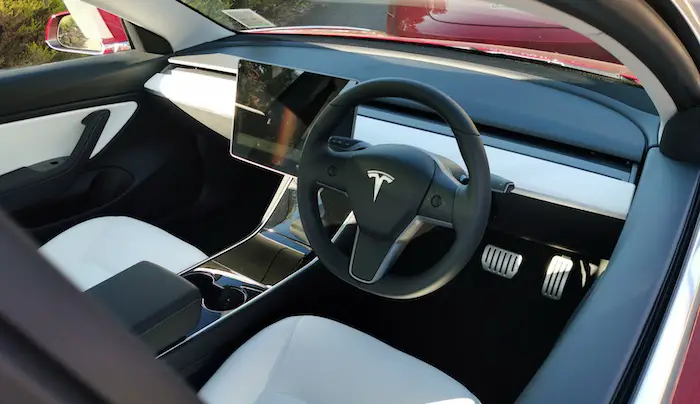
Selecting Your Tesla Audio Settings
The process for setting your Tesla audio settings will vary depending on your model, but in general, you’ll need to follow these steps:
- Press the “Menu” button on the bottom left of the touchscreen display.
- Select the “Controls” icon.
- Scroll down and select the “Audio” option.
- From here, you’ll be able to adjust a variety of audio settings, including volume, balance, fade, bass, treble, and more.
- Make any desired adjustments and tap “Save” to apply your changes.
Keep in mind that some audio settings may not be available on certain Tesla models.
Understanding the Tesla Audio Settings
Here’s a breakdown of the various audio settings available in Tesla vehicles:
- Volume: This should be obvious, This setting controls the overall volume of the audio system. You can adjust the volume using the volume control knob on the center console or by using the touch screen.
- Balance: This setting allows you to adjust the balance of the audio between the left and right speakers.
- Fade: This setting allows you to adjust the balance of the audio between the front and rear speakers.
- Bass and Treble: Using these settings, you can adjust the amount of bass (low frequencies) and treble (high frequencies) in the audio.
- Equalizer: This setting allows you to adjust the balance of specific frequency ranges within the audio spectrum.
- Surround Sound: With this setting, you can choose between different surround sound modes, including “Stereo,” “Surround,” and “Off.”
- Compressor: This setting allows you to adjust the dynamic range of the audio, which can affect the volume of quieter and louder sounds.
- Auto Volume: The auto volume setting adjusts the volume of the audio automatically based on the speed of the vehicle.
How To Customize your Tesla Equalizer Settings
Follow the steps below to customize and adjust your Tesla Equalizer settings for the best sound performance.
- Access the Equalizer Settings: To access the Equalizer Settings on your Tesla, go to the Audio tab in your Tesla’s settings menu. From here, you should see an option to “Customize Equalizer”.
- Adjust the Frequency Sliders: The Equalizer Settings screen will display a series of frequency sliders ranging from bass to treble. To customize your sound settings, simply drag the sliders up or down to increase or decrease the volume of each frequency range.
- Save Your Settings: Once you have adjusted the sliders to your liking, be sure to save your settings by clicking the “Save” button in the top right corner of the screen. This will ensure that your customized settings are applied to your audio system every time you use it.
- Reset to Default Settings: If you want to return to the default Equalizer Settings, simply click the “Reset to Default” button in the bottom left corner of the screen. This will restore the default settings for the frequency sliders.
- Use Preset Modes: In addition to customizing the Equalizer Settings manually, you can also use preset modes such as “Rock” or “Jazz” to quickly adjust the sound settings to a specific genre of music. Simply select the desired preset mode from the dropdown menu at the top of the screen.
- Enjoy Your Customized Sound: Once you’ve customized your Equalizer Settings to your liking, sit back and enjoy the improved sound quality of your Tesla’s audio system.
Getting the Best Out of Your Tesla Audio
Here are a few tips for getting the best possible audio experience in your Tesla:
- Experiment with different audio settings: Try adjusting the volume, balance, fade, bass, and treble settings to see how they affect the audio. You might find that certain combinations work better for different types of music or audio.
- Use the equalizer: The equalizer allows you to fine-tune the balance of specific frequency ranges within the audio spectrum. This can be especially helpful for optimizing the sound for different types of music or audio.
- Choose the right surround sound mode: The “Stereo” mode is generally best for music, while the “Surround” mode can be more effective for movies and other audio content with a lot of sound effects.
- Use good quality audio sources: The quality of the audio source can make a big difference in the overall sound quality. Make sure you’re using high-quality audio files or streaming services to get the best possible sound.
- Avoid clipping: Clipping is a distortion that occurs when the audio signal is too strong for the system to handle. To avoid clipping, try not to set the volume too high, and be mindful of the levels of the audio source.
By following these tips and adjusting your audio settings to suit your preferences, you can get the most out of your Tesla audio system.
Other Audio Features in Tesla Vehicles
In addition to the audio settings we’ve covered, Tesla vehicles also offer a range of other audio features that can enhance your listening experience:
- Adaptive Sound: This feature adjusts the audio based on the noise level inside the car, helping to improve the clarity of the audio at different volume levels.
- Sound Staging: This feature allows you to adjust the perceived location of the sound within the car, making it seem as if the sound is coming from a specific location (such as the front or rear of the car).
- Custom Playlists: You can create custom playlists using the Tesla app or the touch screen in the car, allowing you to easily access your favorite songs and albums.
- Internet Radio: Tesla vehicles have built-in internet radio functionality, allowing you to access a wide range of online stations and podcasts.
- Audio Equalization for Phone Calls: This feature allows you to adjust the equalization of phone calls, helping to improve the clarity and quality of the audio.


