If you’re having issues with your JVC Bluetooth headphones being unable to connect to your device, you could be dealing with a simple issue that only requires a few steps to fix or something more complex that could take a while.
Regardless, our guide provides all the troubleshooting steps to help you fix the issue and get your headphones connected again.
JVC Bluetooth Headphones Not Connecting: How to Fix
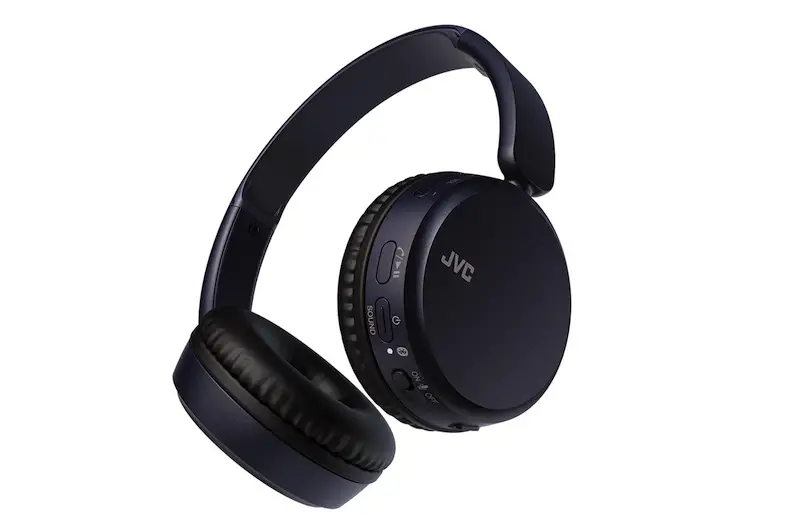
Step 1: Make Sure Your Headphones are Charged
What you should do first is to check whether your headphones are fully charged. Chances are, you’re dealing with a low battery which is causing the headphones not to connect to your device. To charge your headphones:
- Connect the charging cable that came with the headphones to a power source.
- Connect the other end of the charging cable to the headphones.
- Wait for a few hours until the headphones are fully charged.
A full charge on the JVC headphones can take a few hours, so ensure it is connected to power for a while.
Step 2: Put Your Headphones in Pairing Mode
Before you can connect your JVC Bluetooth headphones to your device, you need to put them in pairing mode.
To do this;
- Make sure the headphones are turned off.
- Press and hold the power button on the headphones until the LED light starts flashing.
- The LED light will start flashing quickly, indicating that the headphones are in pairing mode and are ready to connect to your device.
Step 3: Forget and Re-Pair the Headphones
You could also be dealing with a simple glitch especially if your headphones have connected to your device in the past but are no longer connecting. In this case, try forgetting the headphones from your device’s Bluetooth settings and then re-pairing them. Here’s how:
- On your device, go to the Bluetooth settings.
- Find your JVC headphones on the list of paired devices and tap on the “i” icon next to them.
- Tap “Forget This Device” and confirm the action.
- Put your headphones in pairing mode (as described in step 2).
- On your device, select your JVC headphones from the list of available devices and follow the prompts to pair them.
Step 4: Update Your Device’s Software and Firmware
Bluetooth connectivity issues could be due to the device’s outdated software or firmware. To get this issue fixed, you need to make sure that both your device’s software and your headphones’ firmware are up to date.
- Go to the settings on your device.
- Look for the option to check for updates and click on it.
- If there is an update available, click on “Download and Install” to update your device’s software.
- To check for firmware updates on your JVC headphones, go to the JVC website and look for the firmware updates for your specific model.
- Follow the instructions provided by JVC to update your headphones’ firmware.
Step 5: Check for Interference
Interference could also hinder Bluetooth connectivity from other devices or objects. Inspect and ensure that there are no other devices nearby that could be causing interference, such as other Bluetooth devices, microwaves, or wireless routers.
- Move your device closer to your headphones and see if that improves the connectivity..
- Turn off any other Bluetooth devices or wireless routers in the area.
- Try connecting your headphones again.
Step 6: Reset Your Headphones
If none of the above steps have worked, the last thing to do would be to try resetting your headphones. To do this, follow these steps:
- Turn off your headphones.
- Press and hold the power button for 15 seconds.
- Release the power button and wait a few seconds.
- Turn your headphones back on and try connecting them to your device again.
If you’ve applied all these steps and are still having trouble, contact JVC customer support to check out the hardware and software.
How to Optimize the JVC Bluetooth Headphones for Great Sound
JVC Bluetooth headphones are great devices when it comes to quality sound, but this can only be enjoyed if you know just how to tweak them. Below you will find some tips to help you optimize your headphones for great sound.
- Check for Firmware Updates: This might not be the first thing you have in mind, however, you will need to check if there are any firmware updates available for your JVC headphones. Firmware updates often come with improvements that can enhance sound quality and overall performance.
- Pairing Your Device: Make sure that you pair your headphones correctly with your device. Go straight to the user manual for step-by-step instructions on how to pair your headphones with your phone or computer. Make sure your device’s Bluetooth is turned on and ready to connect.
- Adjust the EQ Settings: Most JVC headphones come with adjustable EQ settings, which allow you to fine-tune the sound to your liking. You can find the EQ settings in the JVC app or in your device’s settings. Experiment with the different EQ settings to find the perfect sound for you.
- Noise Cancelling: If your JVC headphones come with noise-canceling features, turn them on to reduce outside noise and enhance sound quality. This feature works best in environments with a lot of background noise.
- Volume: Adjust the volume to your desired level. Take care not to turn the volume up too high to prevent hearing damage. A good rule of thumb is to keep the volume at around 60% of the maximum level.
- Positioning: Make sure that you position your headphones correctly on your ears. If they are not snug enough, the sound quality will be sub-par, and if they are too tight, you will notice some discomfort. Adjust the headband and ear cups to ensure a comfortable and secure fit.
- Audio Sources: Lastly, always go for high-quality audio files. Low-quality audio files will not get you the best sound quality of your headphones, so make sure you are playing high-quality files.
Applying these tips requires lots of tweaking and customizing, but when done, you should be able to enjoy great sound from your JVC Bluetooth headphones.


